Saturday, May 29, 2010

The installion is completed.


Filling in the dirt and landscaping around the completed plinth.


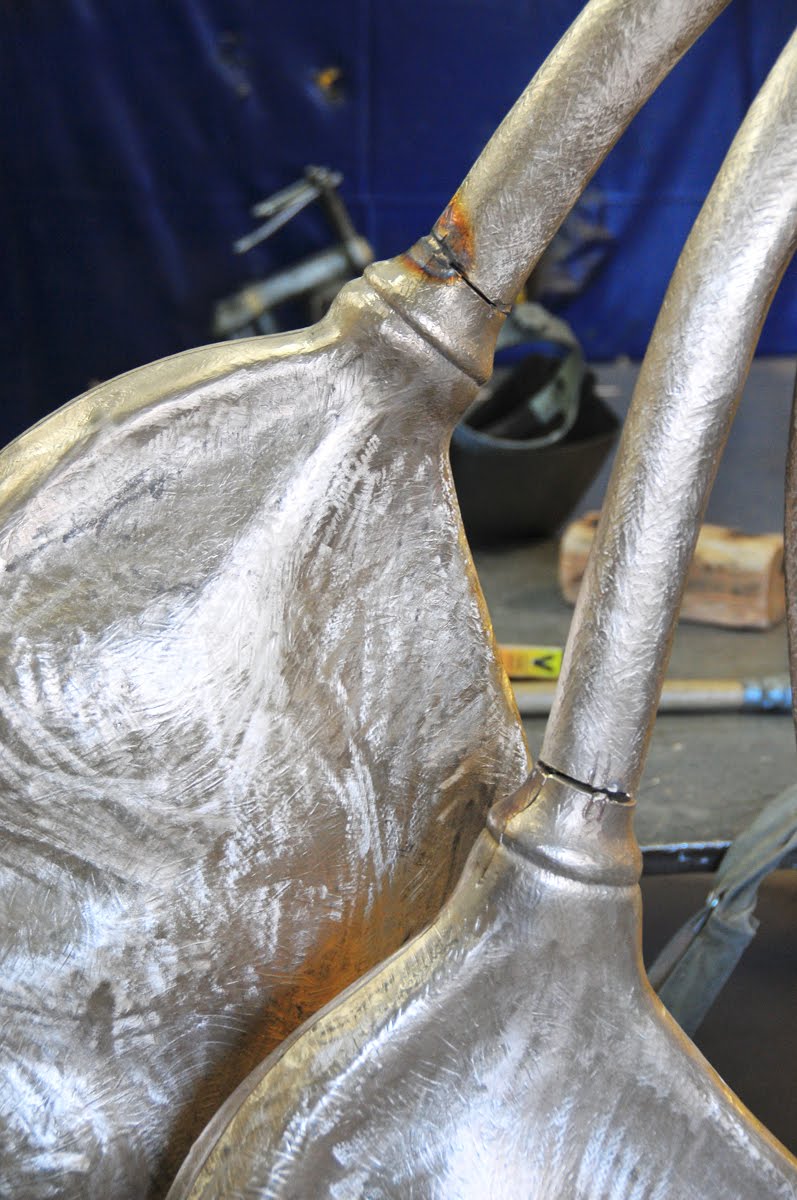
The Bean Pods are installed. This completes the process that was begun in October 2009 and took 8 months to complete from beginning the commission to installation.


Special thanks go out to Jody Wagner, Cliff, and the crew of Land Design Landscaping in Oakland, Maryland for all the hard work they did on the installation.


The client, myself, and my wife Shannon.

Building the Plinth.


Digging the hole for the footer. For this installation hard-packed gravel was used.


Placing and packing down the gravel.


The plinth or sculpture base is being constructed from pave stones and then will be finished off with a sandstone cap.


Snapping the pave stones to the correct dimensions.


Almost done.


Grinding off any imperfections so that the top cap will fit level and securely.


The top cap is in place and ready to have the sculpture placed on. The two stones in front have been left out so that once the sculpture is in place we can reach in and bolt it down. After that the stones will be slid in place.


Sculpture is in place and bolted down.

Uncrating the Bean pods.


 The crate has arrived and is in good condition.


Taking out all of the bolts that hold the crate together so that we can remove each panel.


The reveal. Bean Pods have arrived in perfect shape and everybody is happy.


Removing the rest of the panels.


 The Sculpture is uncrated and waiting for installation in the morning.

Shipping the sculpture.


Transporting the Bean Pods from the Patina shop to the Shippers.


Bolting the Bean Pods to the bottom of the crate.


Moving the sculpture.


 Sealing up the crate for shipping.

Special thanks go out to Jim and Sheree Lambert at Shipper's Supply in Loveland, Colorado.They have been my only shipper for 24 years.

Applying the Patina.


The piece has been sandblasted to remove any contaminants on the surface of the bronze.
 

The first step for this particular patina is to apply sulferated Potash to the surface of the bronze to darken it.
 a


Once the entire surface is covered with Potash it is then rinsed with water and dried off. 

 
Heating the bronze.


Applying the next series of chemical to the surface. This is done while the bronze is hot.


When the chemicals have all been applied, the bronze is allowed to cool down to room temperature.It then has a layer of metal varnish applied to it to seal the patina and when that dries several coats of clear paste wax areadded to the surface in order to further seal the patina and to provide a nice luster to the surface.

Special thanks go out to Debbie Bakel of Patinas by Debbie in Loveland, Colorado for such fine patina work.

Sunday, May 2, 2010

Metal Chasing and additional welding.


The welds have been ground down and texture is being replaced using high speed air tools and carbide burrs.


The pods have been chased and are ready to have the stems attached. In many cases with larger pieces they are assembled into separate pieces, chased, and then assembled further. This allows for  easy handling and access.


Nuts have been added to the bottom for mounting when the piece is delivered.


 The stems were assebled and chased seperatly and are now being welded into place.


 The stems have been chased and the piece is now finished and ready to go to the patina shop.

Saturday, March 13, 2010

Assembly and welding.


Panels are being placed back together and welded into place.


The Bean Pods are starting to come back together.


Panels waiting for assembly.


The pods are almost done. It should be noted that all through the process, from the wax until here, small discrepancies and warps can occur to the castings. Welding a large piece back together is very much an art form in its own right. The process involves hammers and chisels, vises, pneumatic rams and spreaders, and usually a few choice words. If it is done correctly your piece will come out looking like the original.


Close-up of welds.


The pods are back together. The stems will be welded back together as a separate unit and joined with the pods later.